It’s summer time again! The temperature has hit “beautiful”, the trees and grass have turned back to their vibrant shades of green, and the birds have begun their annual serenades. Ah, sweet wonderful summer.
Except that we’re all stuck in the same old labs
staring at the same instruments
the same shelves full of bottles and tubes
the same old posters on the walls that we’ve been staring at all through the days of winter
It’s enough to make a scientist go mad! Mad, I say!
But before you let that happen, just go out for a short walk outside (or a long walk, depending on how close you were to mania) and take a deep breath of the sweet, pollen heavy summer air (unless you’re one of the 20 million adults who are hyper-sensitive to the pollen) and relax. We’ve got some fun, low stress, summer-friendly experiments for you to keep your experimental interests fresh without all the stress of those research deadlines.
- Earthworm jar
- Backyard birding
- Home Sweet Biome (Biomes in a Bag)
- Pollinator garden
- Regrow Celery
- Water Cycle in a bag
- M&M Hunter Challenge
DIY Earthworm Jar
Have you ever wondered what earthworms actually do in the ground? Worms are some of our best soil “scientists”. They help aerate the soil, break down organic matter and help to turn the soil over in order to mix the layers to provide better plant nutrition. According to the University of Illinois, 500,000 worms on an acre of land will make 50 tons of fertilizer casings and can create a drainage system equal to 2000 feet of 6 inch pipe! This little experiment can help illustrate exactly how worms mix the soil layers.
Materials
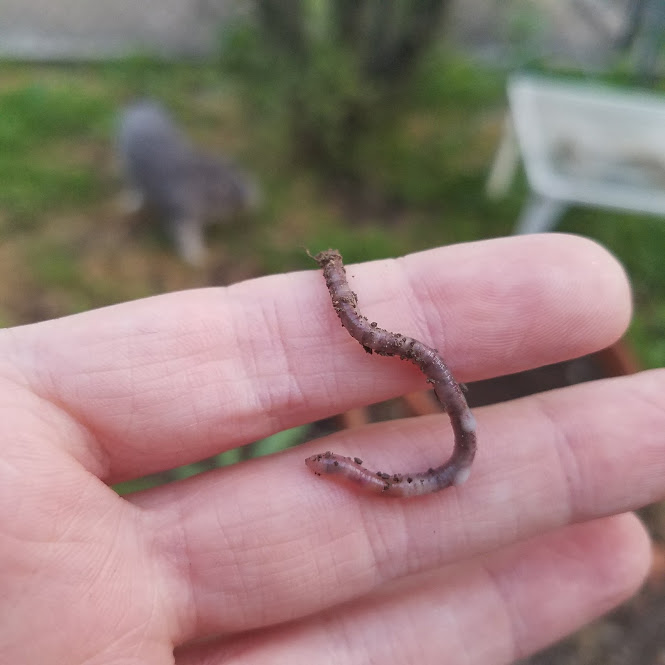
- 2-6 earthworms
- From the yard: After a rainstorm many will come up to the surface to breathe. Also if there is a part of your garden with good rich soil there are likely worms there that should not be too hard to dig up.
- From the store: Most bait shops sell both night crawlers and standard earthworms. Some gardening centers sell Red Wrigglers for composting.
- Two liter soda bottle or similarly sized jar or container (or an ant farm type container might also be good!)
- Rich Soil – either from the garden or a topsoil mix
- Sand (not chemically treated) – lighter will show up better
- Coffee Grounds, Veggie/Fruit Scraps – although stay away from more acidic foods like onions, tomatoes and citrus.
Optional:
- Cheesecloth and Rubber band or lid with holes for ventilation
- Thick paper or cloth to cover the sides of the habitat and keep out light
- Notebook for observations/ drawings
- Measuring tape/kitchen scale
- Wire mesh screen/colander
- Soil Thermometer/Soil pH meter
Prepare Container
- Wash out container making sure it’s completely rinsed out with no soap residue.If you’re using an empty two liter cut the top of the bottle off where it starts to slope.
- If your container has a lid, poke holes in the top to let in air.
- Fill the jar with a layer of sand (½ inch) and soil (2 inches). Make sure you wet the soil and sand so that they are damp but not soaking.Continue layering sand and soil until the jar is full, your last layer should be a soil layer. Make sure to leave an open space of at least 2 inches at the top.
Add worms
- Before you put the worms in, count and weigh the worms and measure their average length so you can keep track of their growth.
- Put coffee grounds and food scraps on top of the soil.
- Add a lid with holes on or cover the top with cheese cloth and secure with a rubber band in order to help keep bugs out.
Keep the worms happy
- Worms don’t like light, so either wrap a piece of dark paper around the jar or store the project in a cool, dark place.
- Check on the worms every few days to make sure that the soil is still moist.
- Give them new food about once a week.
- Pretty soon you should be able to see the layers of sand and soil start to mix together and tunnels from the worms traveling through the soil.
Optional Science (for the overachievers)
- Compare the ambient temperature to the temperature of the soil.
- Compare the soil pH across the duration of the experiment to see how it has changed.
- Measure and track the soil migration based on worm number or initial size.
After a few weeks of observing and keeping the worms it’s time to let them go back out into the wild. Use a wire mesh screen to help separate the worms from the dirt.Weigh and measure the worms and compare this to your original measurements and bid them a fond adieu!
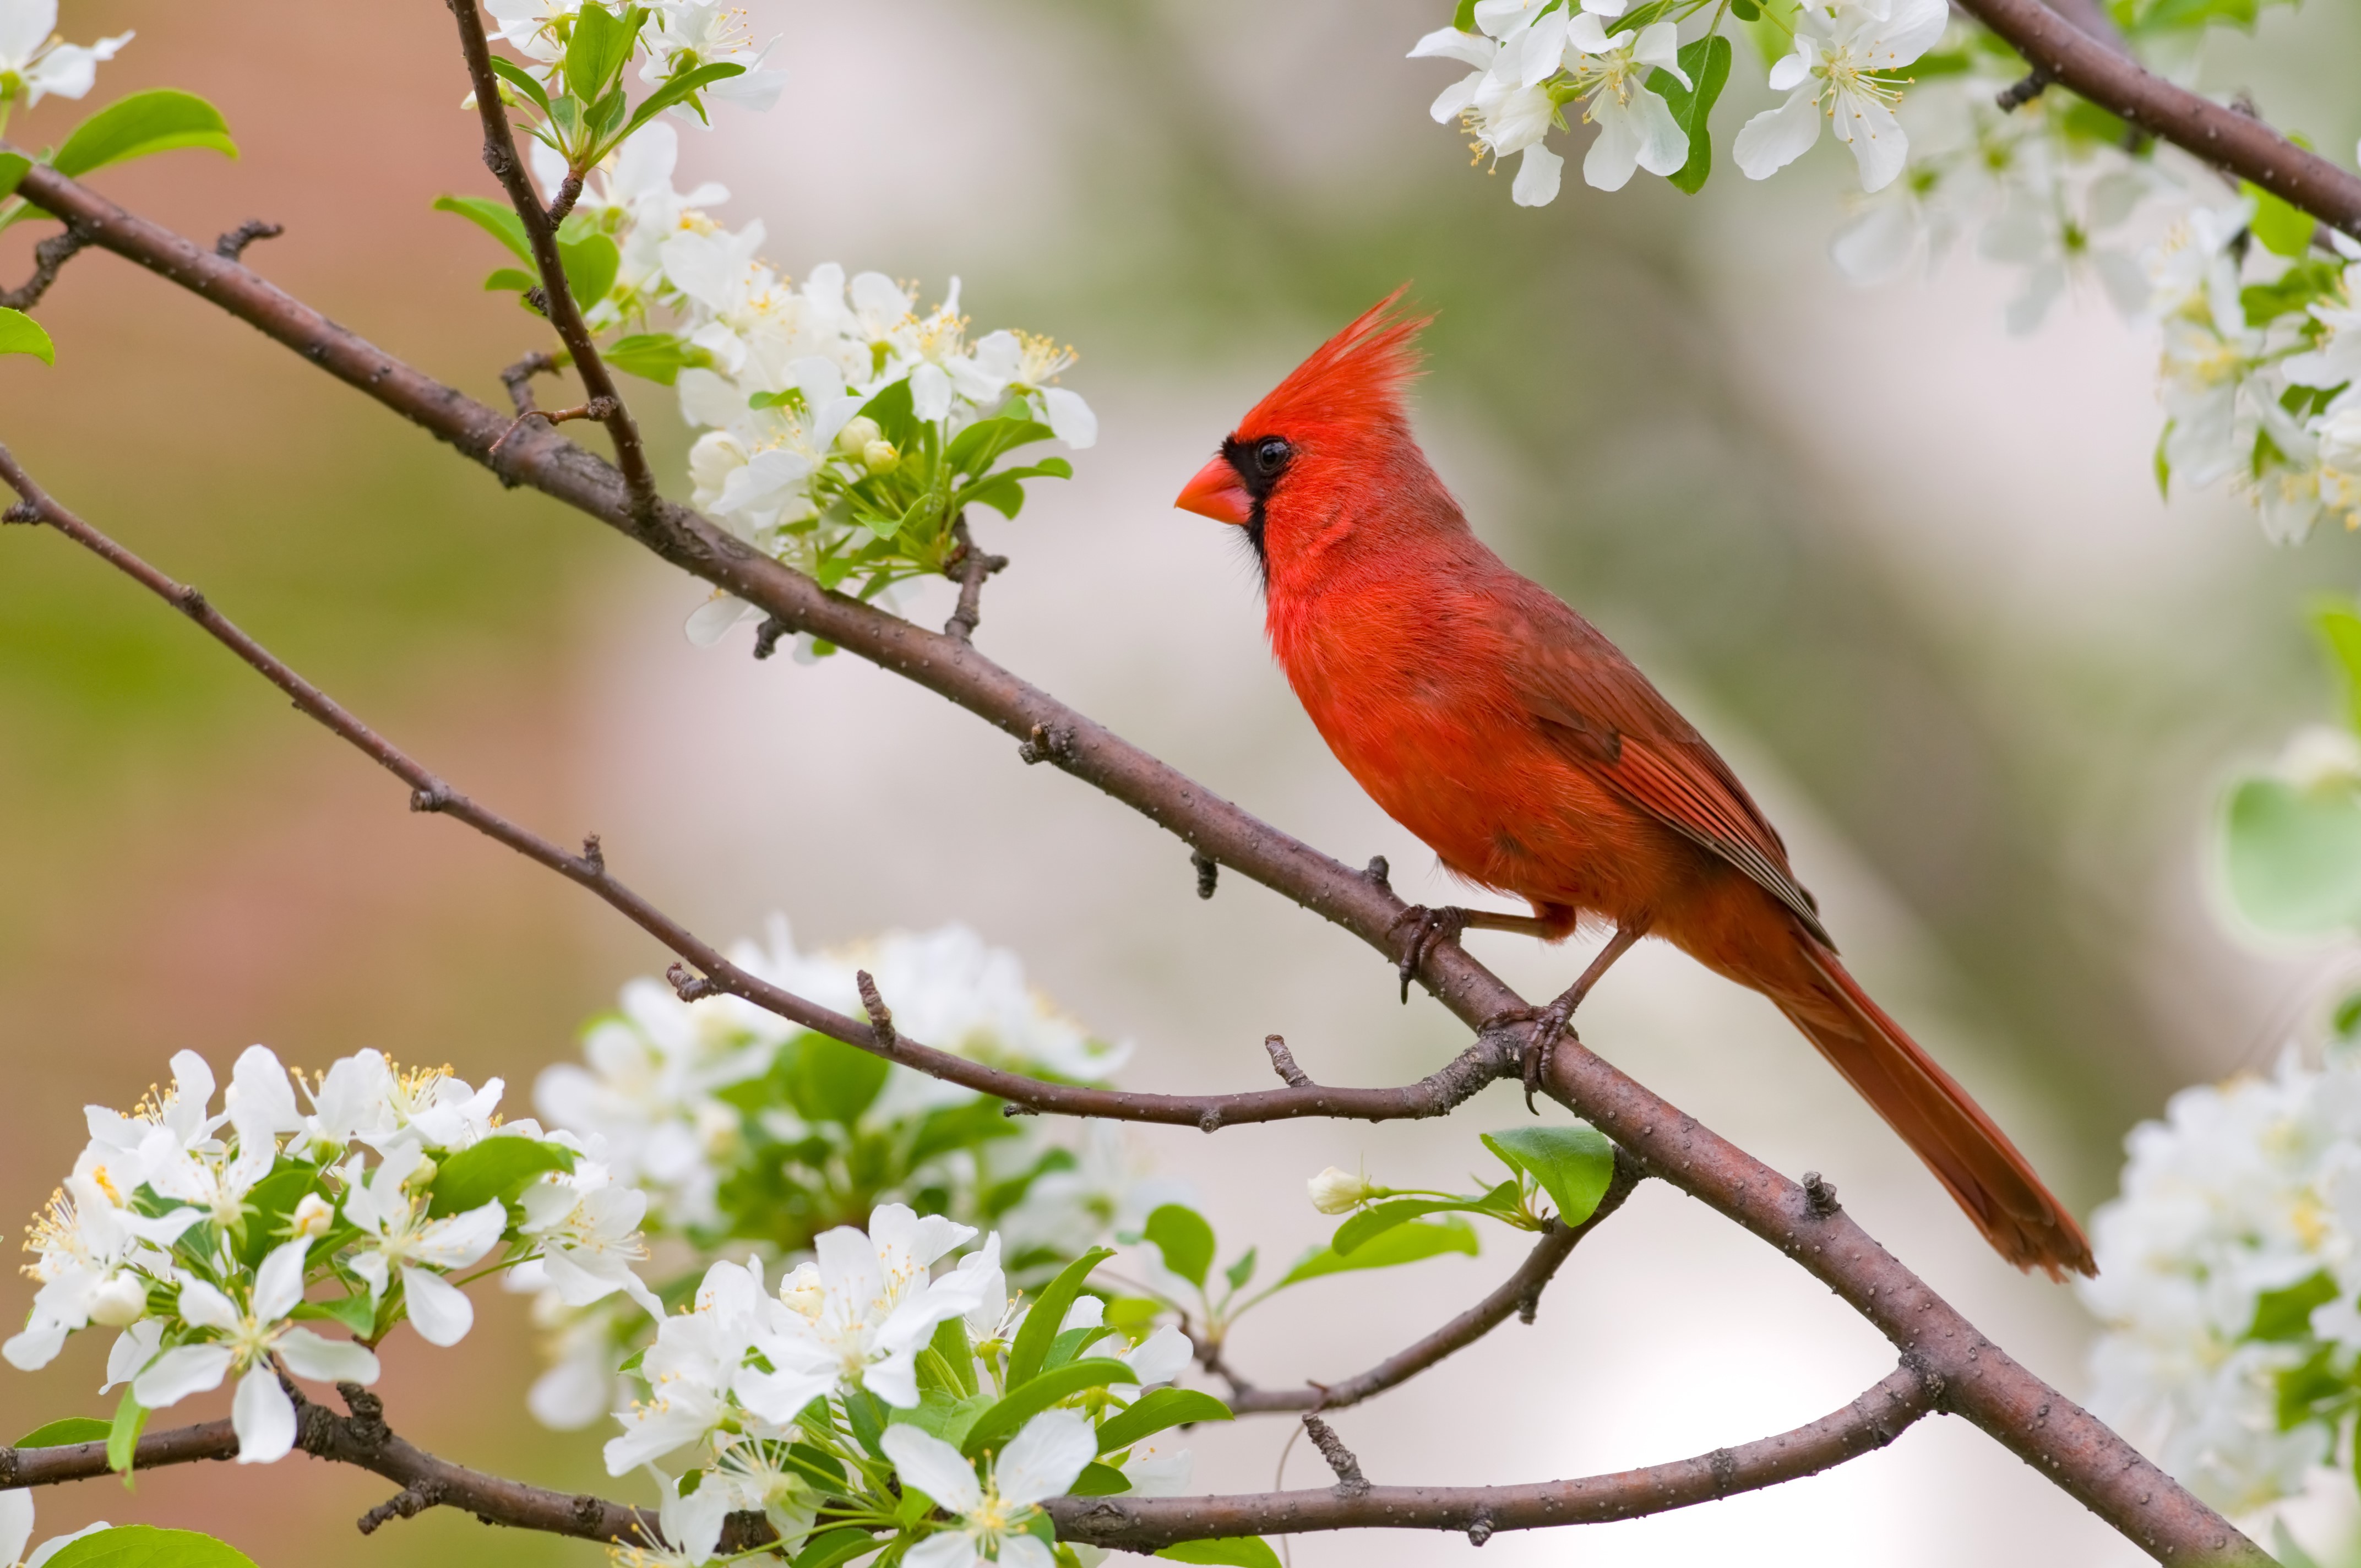
Backyard Birding
Birds are the trumpeters of spring and work as one of our greatest natural pest control. To a scientist, they can also be a wonderful subject of exploring animal behavior and genetics. Backyard birding is the idea of not only observing the birds in your area, but also putting things in place to allow them to thrive.
The best resource to explore is the National Audubon Society’s website for tips. There are resources to help you identify different birds through sight or through their calls. They also have guides on different types of feeders and housing you can make. Different seed and nest boxes can attract many different types of birds. You can also buy some great bird observing window feeders, like this one (not sponsored), which offers a 2-way mirror system so that you can watch birds up close at your window without scaring them off. One issue with this bird feeder, however, is that due to the size of a window, all the uncovered area still exposes you and scares the birds away. A way around that is to use Glad Press’n’Seal (or similar) around the other open areas of the window.
Spring is usually the best time to start your observations, with early mornings and late evenings being a great time to watch birds in your yard. But you can also help create a perfect environment for a range of seasonal birds to thrive in your area all year long.
Home Sweet Biome (Biomes in a Bag)
Have you ever wondered exactly how your environment affected the rate of plant growth in your area? Science Buddies has a great experiment procedure to figure that out exactly! This is a quick and simple science experiment that is enlightening and needs very little upkeep.
Materials
- 2-liter plastic bottles (6), clean and empty
- Bag of river rock
- Bag of potting soil
- Packets of the same type of seeds; vegetables such as beans or peas work well, but flower and grass seeds work, too (need about 20 seeds, total)
- Resealable food storage bags, 1 gallon-size (6)
Procedure
- To model two terrestrial biomes, the temperate forest and the tropical forest, find a place that is sunny (like a sunny windowsill) and another spot that is shady and a bit warmer than the first location.
- Cut each of the plastic bottles in half.
- Place a handful of river rocks in each plastic half. The rock layer should be 1 inch deep.
- Put a layer of potting soil on top of the rocks in all six bottles. There should be twice as much soil as there are river rocks, so approximately 2 inches.
- Now, drag your finger in the middle of the soil and make a trench as deep as your fingernail.
- Place 3-4 seeds in the trench and then gently replace the soil over the seeds. Spread the seeds out—don't put them all in one pile together. Repeat steps 5-6 for the other five containers.
- Fill the measuring cup with water and carefully water one container at a time until you see the water collect at the bottom of the rocks. The amount of water you'll use for each container should be between ¼ cup and ½ cup. The soil should not be soaking wet or soupy, just moist. Make sure that the seeds remain covered after you have watered. Repeat this step for all of the containers.
- Now place each container in a resealable plastic bag. Label each bag with the amount of water in that container and the location where it will be placed. Three containers should be in one location and the other three should be at the other location. Carefully and completely seal each plastic bag.
That’s it! You won't have to water the seeds again, because the water in the bag recycles itself! The roots of the plant absorb the water, which then travels up the stem to all the parts of the plant. Some of the water in the leaves evaporates, as does some of the water in the soil. The evaporated water condenses on the inside of the bag and forms water drops. Some of the water drops fall back into the container like rain. Once the water falls back into the plant container, the water cycle starts again.
Observe the biomes twice daily for the next week. Once in the morning and then again in the evening. Try to observe the biomes at the same times each day. Have any seedlings come up? How long did it take for seedlings to come up? Use a ruler to measure how tall the seedlings are. Has water condensed on the inside of the bag? How moist does the soil look?
Reference
Science Buddies Staff. (2017, July 28).
Home Sweet Biome: How Do Plants Grow in Different Environments? Retrieved from https://www.sciencebuddies.org/science-fair-projects/project-ideas/EnvSci_p046/environmental-science/biomes
Pollinator Garden
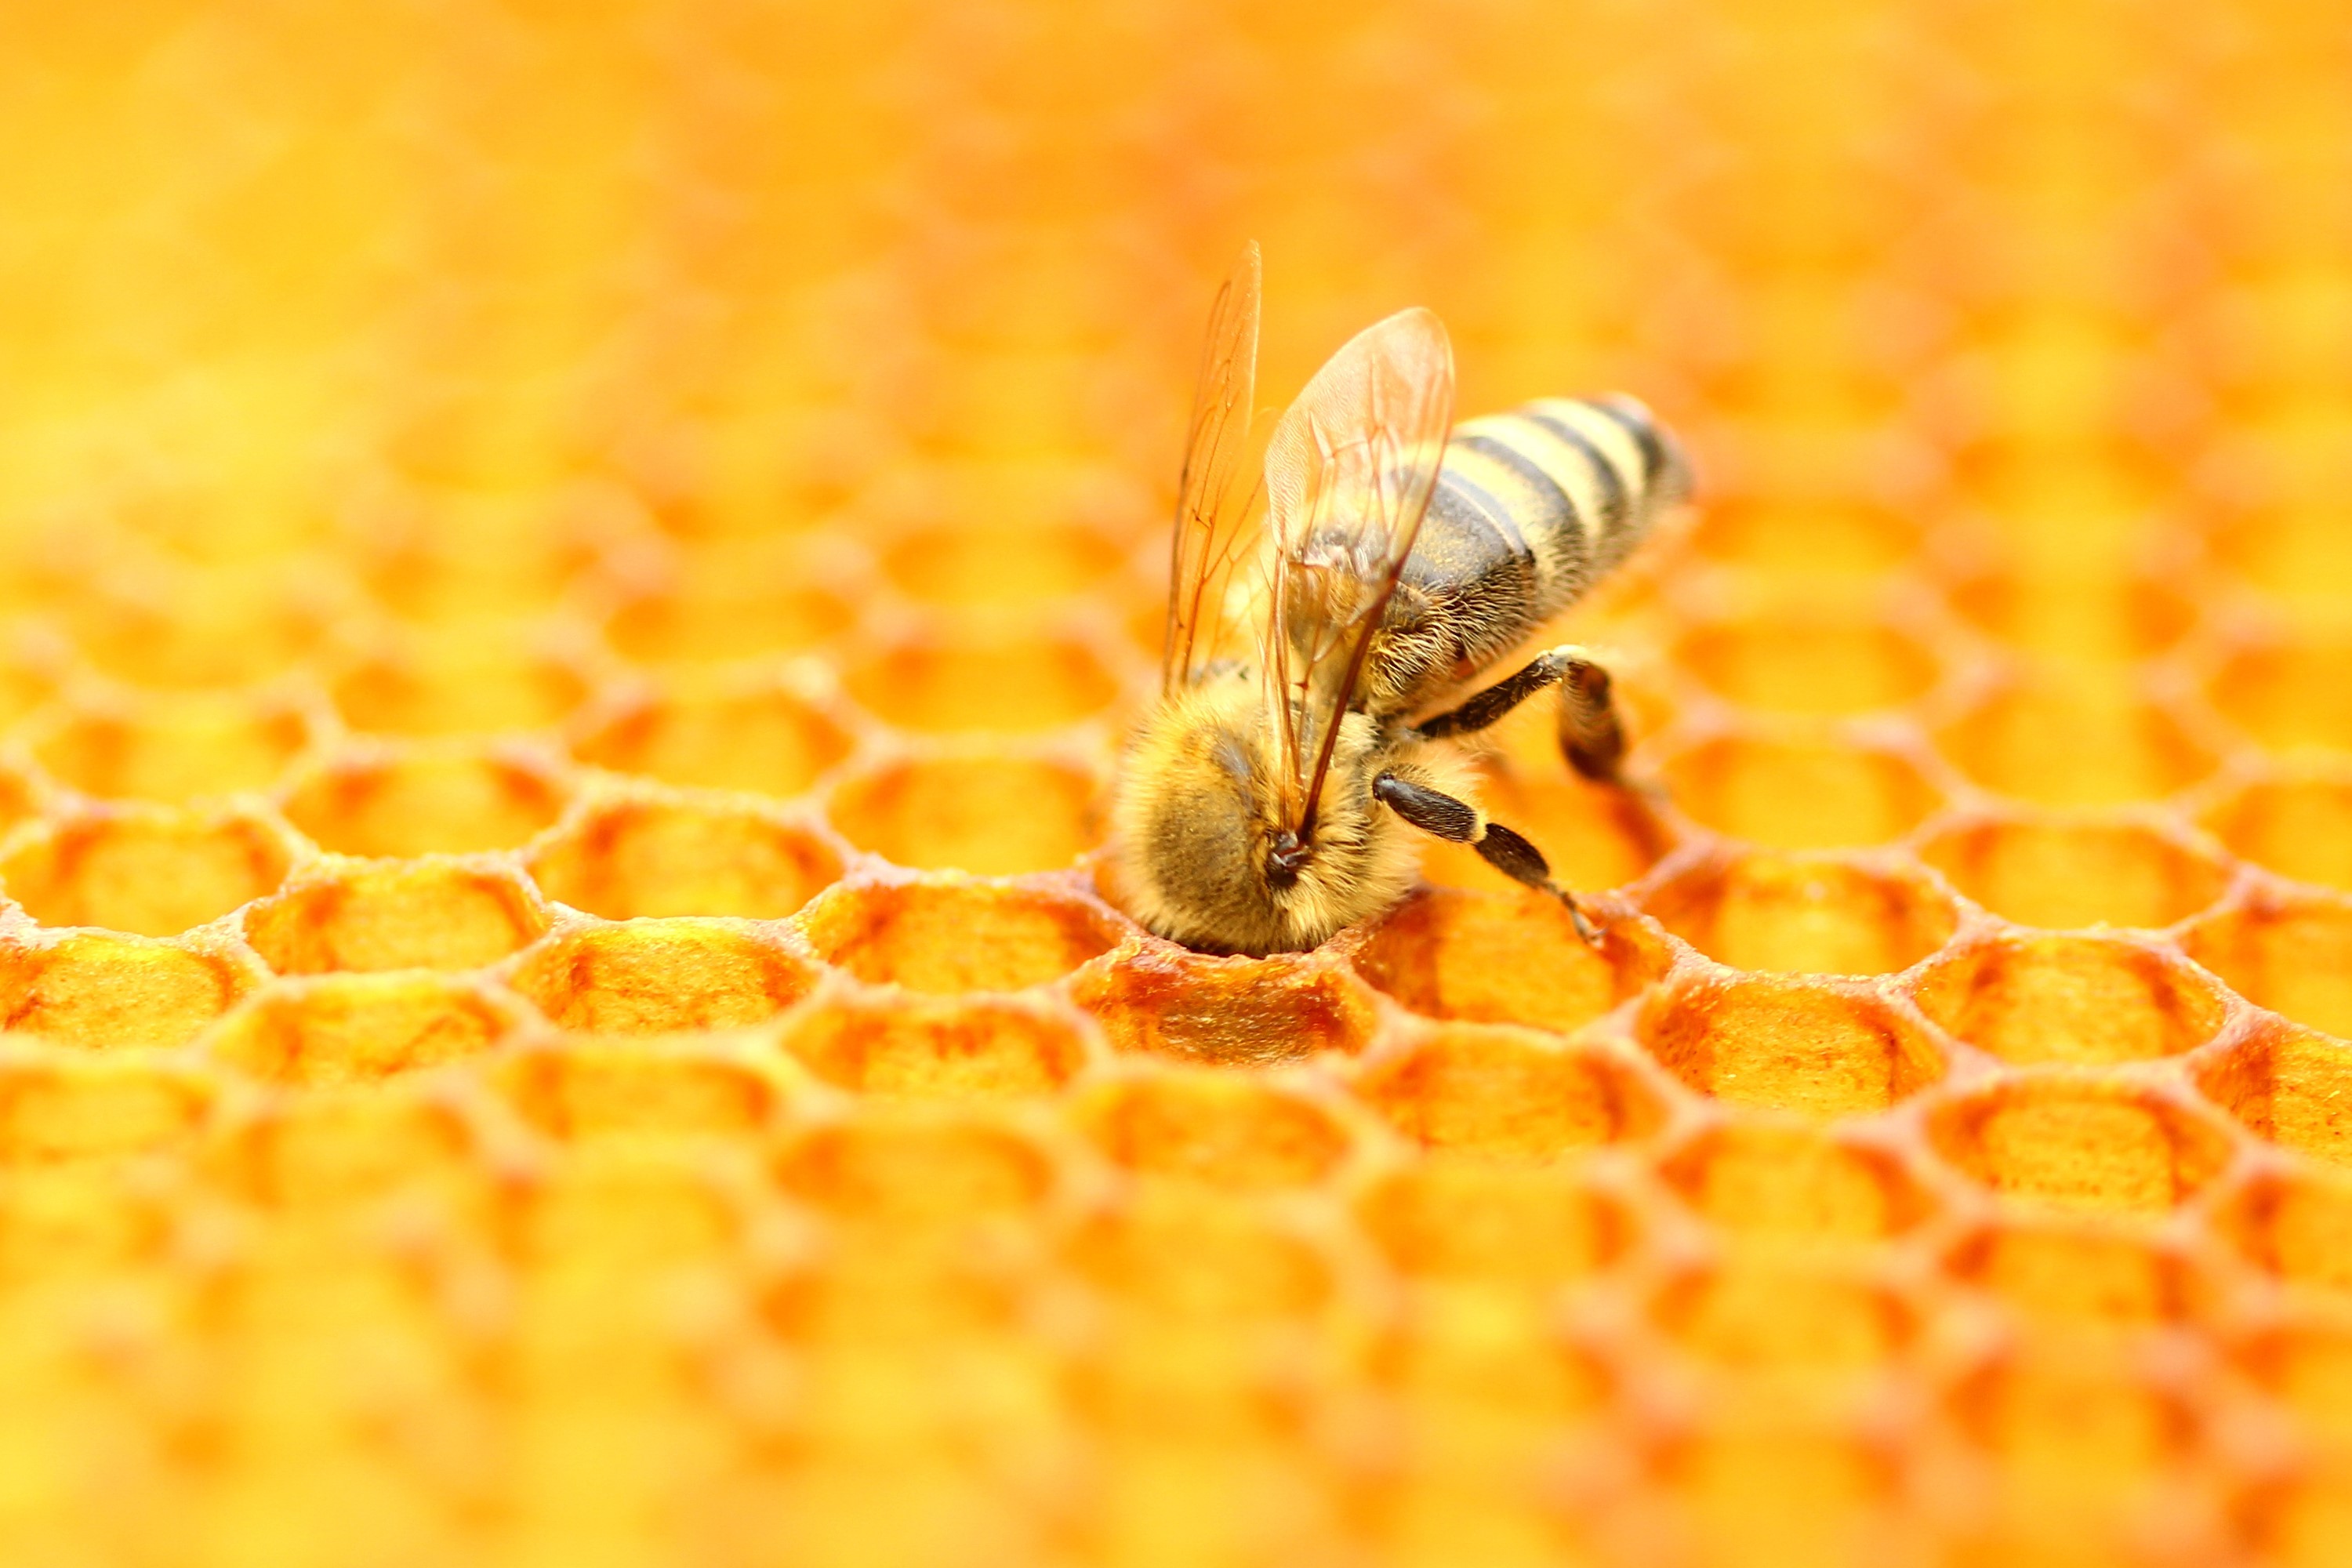
Pollinators are an important part of the ecosystem and a lot of our heavy lifters such as the honeybee and monarch are having a hard time. Help them along this spring by creating a pollinator garden!
One of the biggest ways to really attract pollinators to your hard is to plant milkweed. There is a great video series on Youtube about how to find, germinate and plant milkweed. The first video of the series also lists a few places where you can get free milkweed seeds. Just be careful to manage milkweed because it can get a little out of hand and overrun other bushes and trees. Another great resource for tips on growing a pollinator garden can be found on the USDA’s Forest Service page.
May/June is a great time to get started! Get those seeds and start germinating. While you wait on the little sprouts, carve off some area to dedicate to the garden.
Regrow Celery (Great to do with kids!)
Rather than immediately scrapping or composting that old celery stock, why not save it for regrowth? Children will not only observe plant growth over time, but will also learn an important lesson in sustainability and science.
The best website with information on how to regrow celery from stalk is found here. This page not only shows the initial kitchen growing techniques, but also goes into detail about when to transplant it outside.
Transplanting time will depend on your location. Celery does best in cool weather when nighttime temperatures are around 55°F (13°C) and average daytime temperatures stay between 60-70°F (16-21°C). For more information on optimal, outdoor growing conditions, check out the Aggie Horticulture website.
Water Cycle in a Bag (Great to do with kids!)
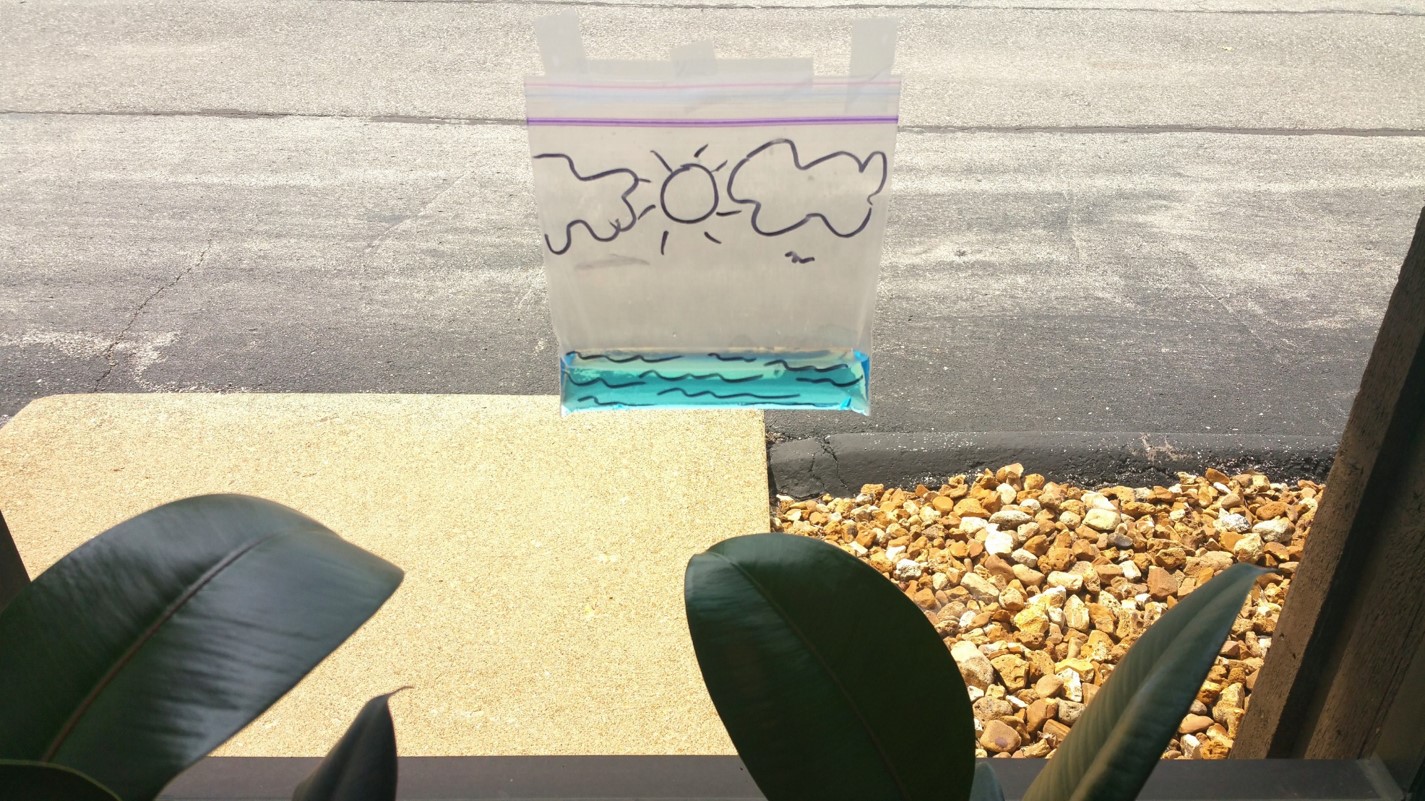
Teach your kids about the water cycle in a very fun, hands-on way with this Water Cycle in a Bag activity found on playdoughtoplato’s website. According to the page, it’s quick to prepare and engages kids for a few days.
The instructions on how to set this up is featured on the website. But the basic idea is this: you get a zip up sandwich bag, draw a cloud and sun up top. Fill the bag with just a little water and blue food coloring. Seal it up and tape it to the window. Check it with the kids each day to watch the levels evaporate, condense and trickle down.
This is a great activity when you’re going to have lots of sun. And with school ending soon, late spring and early summer will be a fun time for the kids to do this activity.
And finally...
M&M Hunter Challenge
Camouflage is one of nature’s best defenses for prey species. For this delightful and delicious little “lab” experiment, you might need to get some help from your lab mates. Begin by mixing certain colored M&M’s in a Skittle-based habitat to see how camouflage can help to keep M&M’s “alive” against the hungry lab predators in a set amount of time! You might have to promise to let your lab mates keep any M&M’s they “capture”, but not before you count how well they did. Make it a party and see which researcher is the ultimate M&M predator.
Materials
- Plastic baggies (6)
- M&M's, at least 10 of each color
- Use plain M&M's, which should have six colors: Yellow, blue, green, brown, red, and orange.
- To make sure you have at least 10 candies of each color, you will want to get at least two 1.69-oz. packages.
- Skittles®, at least 60 of each color
- Use plain Skittles, which should have five colors: orange, yellow, green, red, and purple.
- To make sure you have at least 60 candies of each color, you will want to get at least one 16-oz. package.
- Metal pie tin or sturdy paper plate
- Stopwatch or timer
- 2-4 volunteer predators who like to eat M&M's
Procedure
- First you will need to prepare a mixed group of "prey." Do this by counting and placing 10 M&M's of each color into a plastic bag.
- This means you should have one plastic bag with 10 yellow, 10 blue, 10 green, 10 brown, 10 red, and 10 orange M&M's candies in it.
- Prepare different "habitats" using Skittles candies. Do this by counting and placing 60 Skittles of a single color in a bag. Repeat for each color, in the end you will have 5 bags — each with just one color of Skittles.
- This means you should have one plastic bag with 60 orange Skittles, one bag with 60 yellow Skittles, one with 60 green Skittles, one with 60 red Skittles, and one with 60 purple Skittles.
- Gather together your lab of 2-4 volunteer "predators." This can be anybody who likes to eat M&M's.
- Explain the rules of the game to your predators as follows:
- The volunteers should pretend to be M&M's birds. They should make a "beak" using their pointer finger and thumb for collecting M&M's candies.
- You will set a timer (or watch a stopwatch) for 20 seconds. During those 20 seconds, the volunteers will use their beak to quickly pick up M&M's and quickly put them in their other hand.
- To encourage the volunteers to be fast, tell them that when they are done with the experiment, they can eat the same number of candies as they picked up. (But they should not eat any candies until you are all done testing.)
- The volunteers should avoid picking up any Skittles candies because Skittles make the M&M's birds sick. The Skittles represent the habitat that the M&M's candies live in.
- After explaining the rules, pour one prepared bag of Skittles into a metal pie tin or sturdy plate. Mix in the prepared bag of M&M's. Put the pie tin in the middle of your group of M&M's birds. Make sure everyone can reach the pie tin.
- Set your timer for 20 seconds.
- Say, Go! And start the timer. When the timer beeps, everyone should stop picking up M&M's.
- Count the number of each M&M's color that each person collected If any volunteer collected any Skittles, put the number of Skittles they collected in the bottom row of their column, the one labeled "Skittles." Also, re-emphasize that Skittles make the M&M's birds sick and should be avoided.
- Enjoy your treats!


